This module has been developed so that anyone can use and configure it without difficulty.
The module provides encrypted communication with the server and robust encryption of sensitive data.
This module is not refundable.
With this module, you can easily manage your Nextcloud server through your WiseCP system to be able to offer your customers data storage deals, or storage reseller offers based on Nextcloud groups by simply checking a box in the product configuration.
Features
Customer Area:
• See the quota used with a graph.
Administrator area:
• Activate / Suspend / Delete the offer.
Screenshots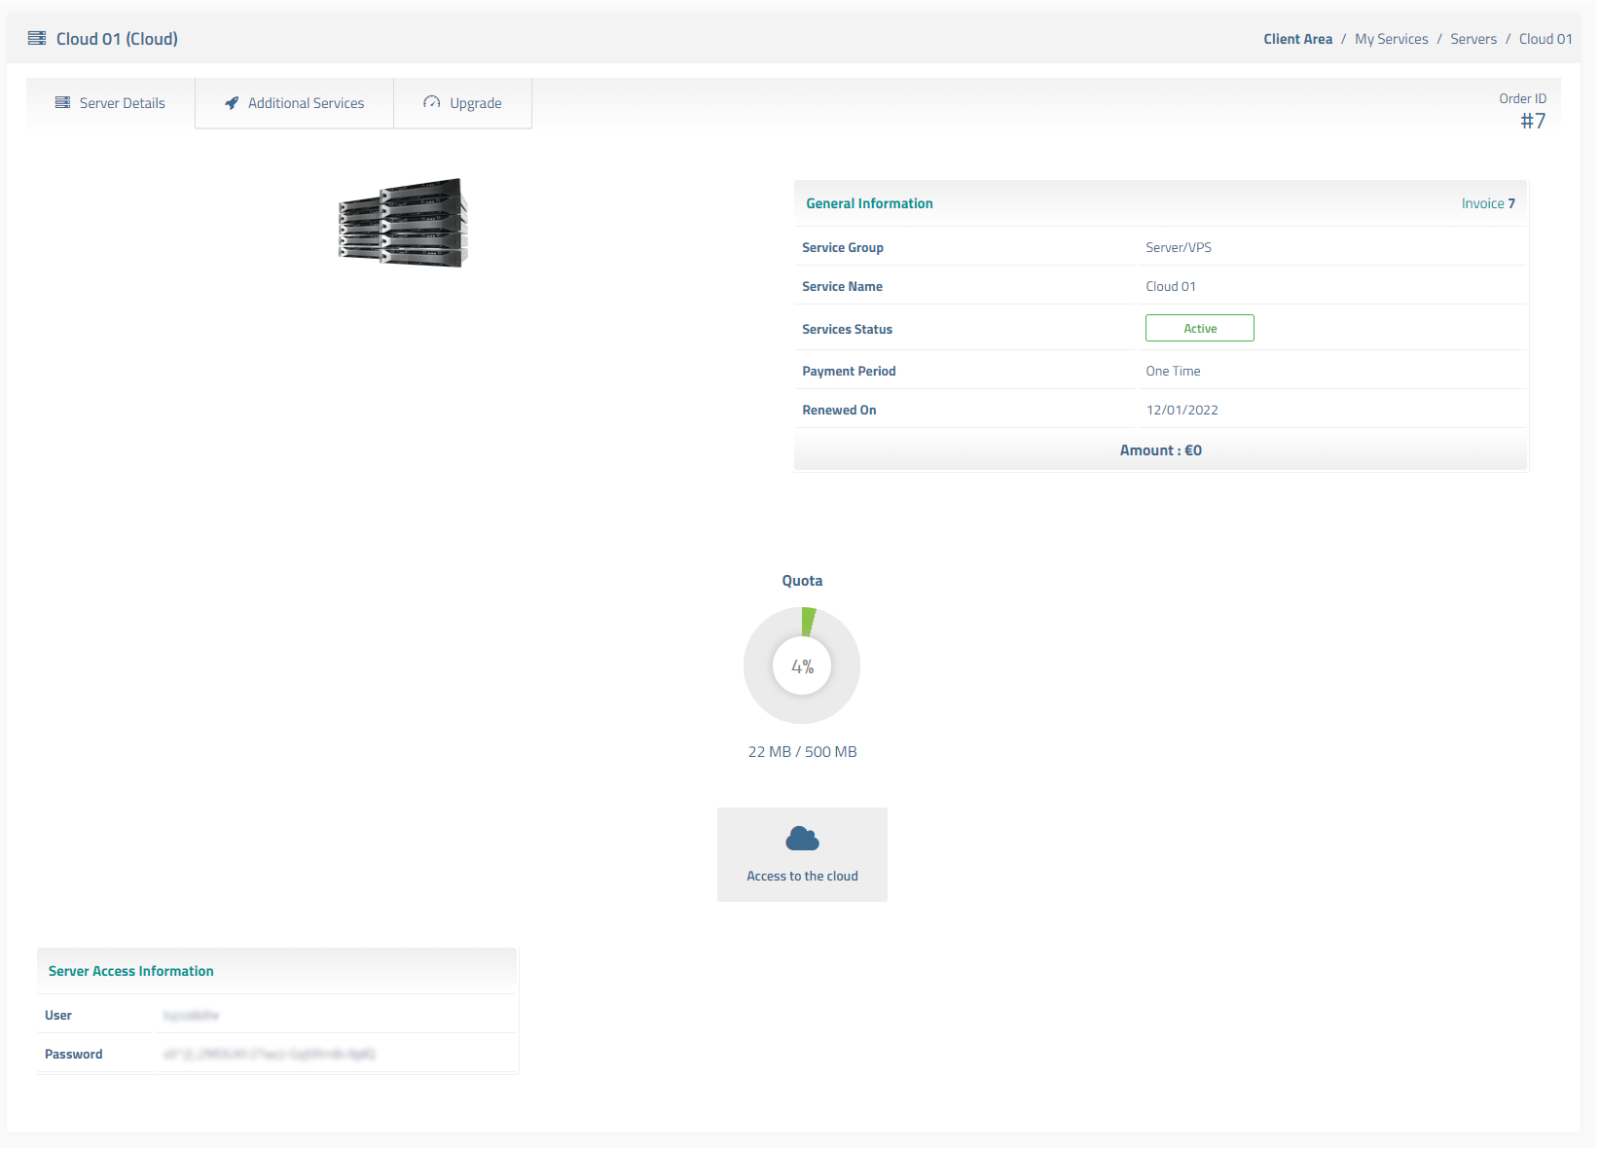

Installation
1 - Download on your server the folder named Nextcloud.
2 - Unzip the folder.
3 - Place the Nextcloud folder in the coremio/modules/Servers/ path on your WiseCP system.
4 - Add the 777 permission recursively to the folder.
Configuration
Add a new server:
1 - Go to the server setup page.
2 - Click on the button to add a new server.
3 - Select the Nextcloud module.
4 - In the field for the IP address of the server, enter the URL of your Nextcloud (ex: nextcloud.domain.ext). In the field for the the username, enter your Nextcloud username. And in the field for the password, enter your Nextcloud password. Then enter the other information requested in the other fields.
Caution! The credentials you enter must provide access to the administrator panel.
5 - Click on the button to add the server.
Add a product:
1 - Go to the page to create a product (Dedicated/VPS Packages).
2 - Click on the button to create a new product.
3 - In the "Core" part, select the server configured for Nextcloud, and indicate the quota you wish to allocate in the "Quota" field. If you want your customers to be able to create other users on their quota, select the "Enable reseller" box (the Group quota module is required on your Nextcloud server).
4 - Click on the button to create the product.
For any questions, bug reports, suggestions... do not hesitate to contact us.
Current version: 1.2.3
Last changes :
Compatibility with the latest versions of WISECP.
") France (France)
France (France)") Worldwide (English)
Worldwide (English)